Upgrading my Honda OBD1 to OBD2 alternator wiring was a game-changer. The new 4-wire setup fixed my battery charging issues and improved overall performance. If you’re doing this upgrade, make sure to double-check your connections to avoid common pitfalls.
Switching from Honda OBD1 to OBD2 alternator wiring involves updating from a simpler 2-wire system to a more complex 4-wire setup. This upgrade ensures compatibility with modern ECUs, improves battery charging and enhances overall vehicle performance.
Switching my Honda to OBD2 alternator wiring transformed my driving experience with smoother performance and reliable battery charging.
What Is Honda Obd1 To Obd2?
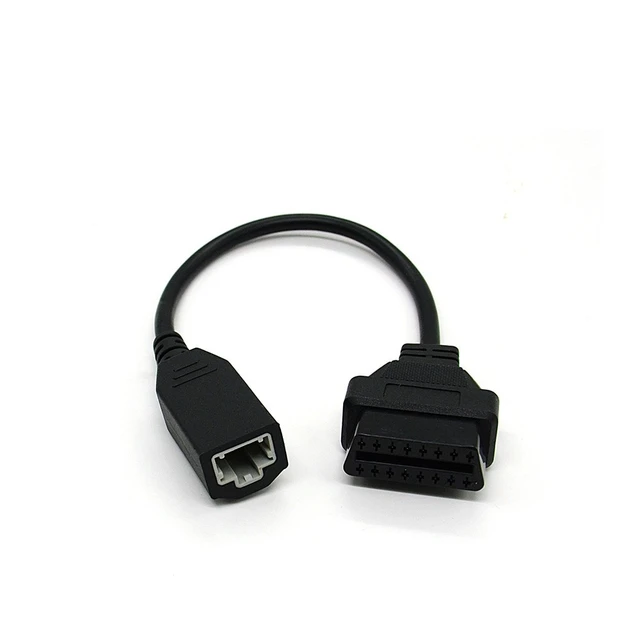
The term “Honda OBD1 to OBD2” refers to the process of converting or upgrading a vehicle’s engine management system from OBD1 (On-Board Diagnostics 1) to OBD2 (On-Board Diagnostics 2) in Honda vehicles.
OBD1 is an older diagnostic system found in Hondas produced between the late 1980s and mid-1990s, which uses a less standardized method for monitoring engine performance and emissions. OBD2, implemented in most cars from 1996 onward, is more advanced, providing enhanced diagnostics.
The conversion from OBD1 to OBD2 often occurs when upgrading to a newer engine or ECU, as it requires changes in wiring, sensors, and components to ensure proper communication between the vehicle’s systems and the newer OBD2 engine management.
Why You Might Need To Switch The Alternator Wiring?
You might need to switch the alternator wiring when converting from an OBD1 to an OBD2 system in your Honda because the two systems use different wiring configurations.
OBD1 alternators typically have a simpler wiring setup, with fewer wires to manage, while OBD2 alternators are more complex, with additional wires for improved regulation and communication with the ECU (Engine Control Unit).
If you’re upgrading your engine or ECU from OBD1 to OBD2, the alternator must be compatible with the new system to ensure proper battery charging, electrical performance, and integration with the vehicle’s electronics.
Tools You’ll Need To Switch The Alternator Wiring:
To successfully switch your Honda alternator wiring from OBD1 to OBD2, you’ll need the following tools:
1. Wire Cutters/Strippers:
For cutting and stripping the wires to prepare them for connections.
2. Electrical Tape or Heat Shrink Tubing:
To insulate and secure the wire connections after splicing.
3. Soldering Iron (Optional):
To create a more secure and permanent connection between wires.
4. Multimeter:
To check the voltage and ensure that the alternator is charging the battery correctly after wiring.
These tools will help ensure that the wiring is done safely and correctly, preventing potential electrical issues.
Step-By-Step Guide To Obd1 To Obd2 Alternator Wiring:
1. Find the Alternator Wires
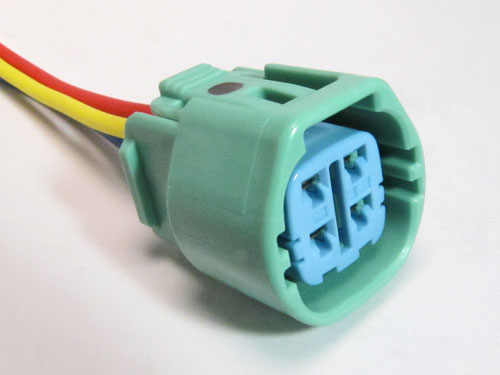
– Locate the alternator wires. OBD1 has 2 wires, OBD2 has 4.
2. Know What Each Wire Does
OBD1 Alternator (2 wires):
- Yellow/White: Charges the battery.
- White/Green: Sends a signal to the ECU.
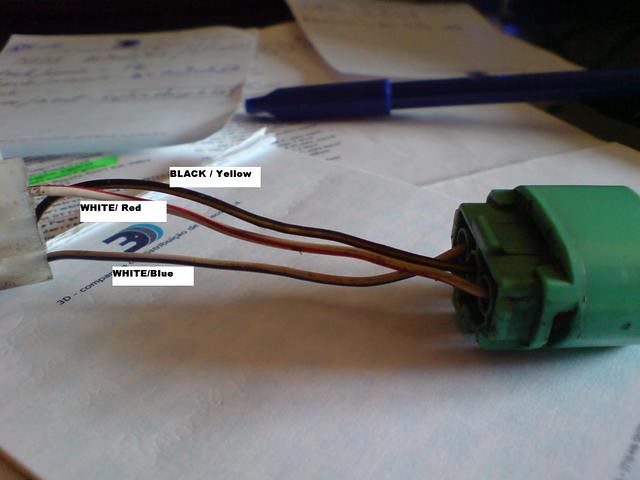
OBD2 Alternator (4 wires):
- White/Green: Sends a signal to the ECU.
- White/Red: Charges the battery.
- Black/Yellow: Connects to the ignition.
- Blue: Controls voltage (may not always be needed).
3. Connect the Wires
- White/Green (OBD1) to White/Green (OBD2).
- Yellow/White (OBD1) to White/Red (OBD2)
- Black/Yellow (OBD2) to a 12V power source.
- Blue (OBD2) may not be needed.
4. Secure the Connections
Use electrical tape or heat shrink tubing to secure the wires. Soldering is optional for a stronger bond.
5. Test the Alternator
Start the engine. Use a multimeter to check battery voltage (should be between 13.5V and 14.5V).
6. Check for Warning Lights
If the alternator warning light is on, double-check all connections, especially to the ECU.
Do I Need To Change My Alternator When Switching To Obd2?
Yes, when switching to OBD2, it is recommended to change your alternator. OBD2 systems typically use a more advanced alternator with additional wiring and functionality, such as better voltage regulation and communication with the ECU.
While an OBD1 alternator might physically fit, it may not function correctly with the OBD2 system, leading to issues with charging and electrical performance. Replacing the alternator with an OBD2-compatible one ensures proper integration with the newer system.
Common Issues When Upgrading From Obd1 To Obd2 Alternator Wiring:
When upgrading from OBD1 to OBD2 alternator wiring, be mindful of several common issues. First, if the battery isn’t charging, make sure the White/Red charging wire is connected correctly.
An illuminated alternator warning light might indicate a problem, so verify that the White/Green signal wire is properly linked to the ECU. Electrical issues, such as dimming lights or fluctuating gauges, can point to wiring problems.
Poor engine performance or ECU errors may result from incorrect signal wire connections. Additionally, inspect for any damaged fuses or wires caused by improper wiring. Dashboard warning lights could indicate broader wiring issues, so recheck all connections.
Why Do I Need To Modify The Alternator Wiring When Upgrading From Obd1 To Obd2?
When upgrading from OBD1 to OBD2, modifying the alternator wiring is necessary due to differences in the electrical systems and diagnostic capabilities between the two OBD versions.
OBD2 systems use a more advanced alternator with additional wires and improved functionality for better communication with the ECU. The OBD2 alternator has more complex wiring that includes additional signal and control wires, which are not present in the OBD1 setup.
Proper modification ensures that the new alternator integrates correctly with the updated ECU, maintains optimal battery charging, and supports enhanced diagnostic features.
What happens if I don’t rewire the alternator properly?
If you don’t rewire the alternator properly when switching from OBD1 to OBD2, several issues can arise. The alternator may not charge the battery correctly, leading to frequent battery drains or starting problems.
Electrical performance can be compromised, causing dim lights, erratic gauge readings, or even complete electrical failures.
Additionally, you might encounter warning lights on the dashboard, such as the alternator or battery light, indicating a problem with the charging system. In some cases, improper wiring can lead to damage to the ECU or other electrical components.
What Is The Difference Between Obd1 And Obd2 Alternator Wiring?
The primary differences between OBD1 and OBD2 alternator wiring are mainly in the number of wires, functionality, and integration. OBD1 alternators typically have just two wires: one for charging the battery (often Yellow/White) and another for sending a signal to the ECU (usually White/Green).
In contrast, OBD2 alternators feature a more complex setup with four wires. These include the signal wire (White/Green), the charging wire (White/Red), an additional wire for the ignition switch (Black/Yellow), and one for controlling the voltage regulator (Blue).
OBD2 alternators offer enhanced functionality with more advanced regulation and better communication with the ECU, reflecting the improved diagnostic capabilities of OBD2 systems.
What’s The Role Of The White/Green Wire In Obd2 Alternators?
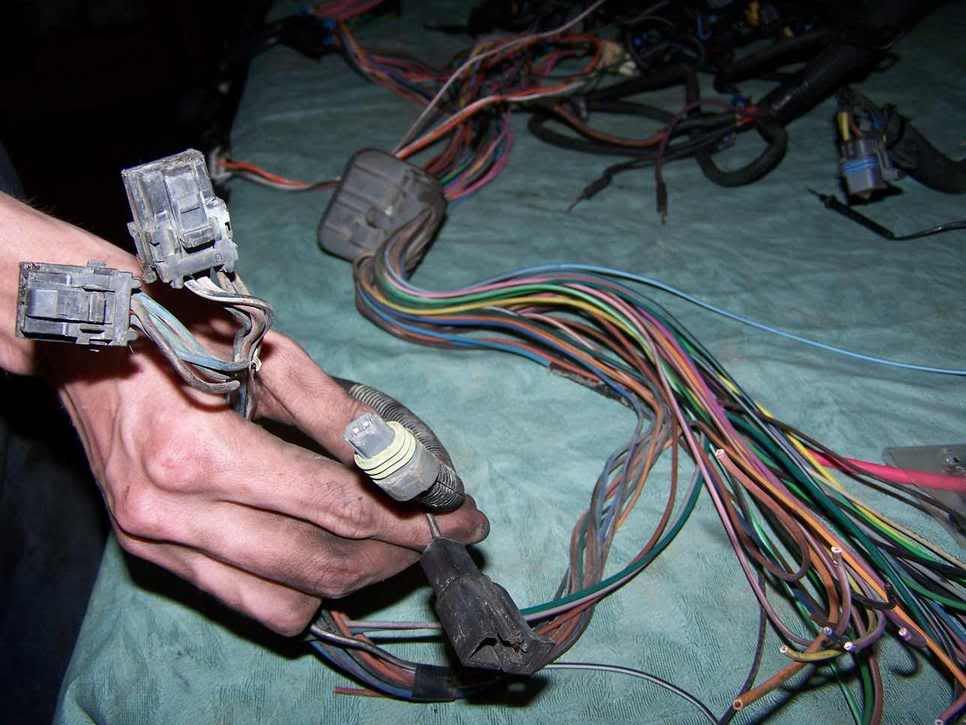
In OBD2 alternators, the White/Green wire plays a crucial role in sending a signal to the Engine Control Unit (ECU).
This signal helps the ECU monitor and regulate the alternator’s performance, ensuring that the battery is charged correctly and that the electrical system operates efficiently. Proper communication between the alternator and the ECU is needed to maintain optimal vehicle performance and avoid potential issues.
Do I Need A Wiring Diagram For My Specific Honda Model?
Yes, having a wiring diagram for your specific Honda model is highly recommended. A wiring diagram provides detailed information about the wire colors, functions, and connections specific to your vehicle.
This helps ensure that you connect the correct wires during the OBD1 to OBD2 alternator conversion, preventing potential issues and ensuring proper functionality. It also makes the process smoother and more accurate, reducing the risk of mistakes.
You can usually find wiring diagrams in repair manuals, online forums, or service guides specific to your Honda model.
Can I Use An Obd1 Alternator On An Obd2 Ecu?
Using an OBD1 alternator on an OBD2 ECU is generally not recommended. OBD2 systems require a more advanced alternator with additional wiring and functionality to properly communicate with the ECU and manage charging and diagnostics.
An OBD1 alternator, which typically has fewer wires and simpler functionality, may not provide the necessary signals or proper voltage regulation required by the OBD2 ECU.
This mismatch can lead to issues such as improper battery charging, warning lights, and potential electrical system failures. For optimal performance and compatibility, it’s best to use an OBD2 alternator with an OBD2 ECU.
Faqs:
1. Is professional installation recommended for upgrading alternator wiring?
While it’s possible to do it yourself, professional installation can ensure proper wiring and functionality.
2. Are there any aftermarket alternators that support both OBD1 and OBD2 systems?
Some aftermarket alternators are designed to be compatible with both systems, but verify compatibility with the manufacturer.
3. What should I do if my alternator warning light stays on after rewiring?
Recheck all connections and ensure the signal wire is properly connected to the ECU.
4. How do I test if the alternator is wired correctly?
Use a multimeter to check the battery voltage. It should be between 13.5V and 14.5V with the engine running.
Conclusion:
Upgrading Honda OBD1 to OBD2 alternator wiring ensures your vehicle’s electrical system works well with a modern ECU. OBD2 alternators have more wires and advanced functions compared to OBD1. Properly rewiring prevents issues like battery charging problems and warning lights. Use the correct wiring diagram and check all connections to ensure compatibility with your vehicle. Whether you do it yourself or get professional help, this upgrade improves your vehicle’s performance and reliability.
